How Italian Artisans Build a Belt: The 14-Step Tuscan Workflow
TL;DR:
- A real Italian artisan belt goes through about 14 steps — not 3 or 4.
- Most steps happen by hand: cutting, skiving, gluing, stitching, edge work, polishing.
- The whole thing takes 2–4 hours of human labor, spread across several days.
- That's why a hand-built Tuscan belt costs more than a Friday-afternoon factory belt.
If you've ever wondered why one Italian belt costs $80 and another costs $400, the answer usually isn't the leather. It's the workflow.
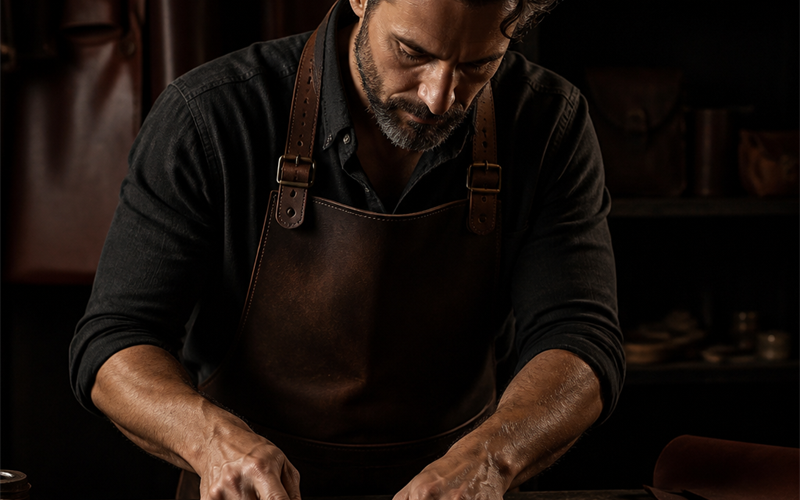
A real Tuscan workshop doesn't run a conveyor belt. It runs a sequence of small, deliberate steps, done in order, by people who've been doing the same step for twenty years. Here's what those steps actually are — and where the cost (and the quality) hides.
For wider context, our post on why Italian leather belts cost more covers the economics. This one covers the work itself.
What Are the 14 Steps in a Traditional Tuscan Belt Workflow?
A traditional Tuscan belt workflow has roughly 14 steps: hide selection, cutting, splitting, skiving, edge cutting, gluing, drying, stitching, hole punching, edge sanding, edge painting or burnishing, hardware fitting, wax polishing, and final inspection. Sequence and tooling vary by workshop, but the bones are the same across Italy.

Let's walk through them.
Step 1 — Hide Selection
The artisan starts at a tannery, often a member of the Genuine Italian Vegetable-Tanned Leather Consortium of Tuscany. They feel the hide, check for scars, and pick belts strips from the back of the animal — the densest part. Cheap factories take whatever the supplier sends. Tuscan workshops pick.

Step 2 — Strap Cutting
Strips are cut with a sharp blade and a steel ruler. Width matters down to the half-millimeter. A 1.5" belt is exactly 1.5", not "around 1.5"."
Step 3 — Splitting
If the hide is too thick, it goes through a splitter to bring the strap down to the target thickness — usually 3.5–4mm for dress belts, 4–5mm for casual. This is one of the few machine steps.
Step 4 — Hand-Skiving
Specific zones — buckle fold, tip taper, hole area — are thinned by hand with a curved knife. We wrote a deep dive on this in our hand-skiving vs machine belts post.
Step 5 — Edge Beveling
Both long edges get a tiny chamfer with an edge beveler. This softens the corner so the belt feels rounded instead of cardboard-sharp. It also preps the edge for paint or burnishing later.
Step 6 — Gluing (For Double-Layer Belts)
If it's a double-layer construction — like our double layer belts collection — the two strap layers are glued together with a natural latex or hide glue. Quality workshops use reversible glues so the belt can be repaired down the line.
Step 7 — Drying / Pressing
The glued strap goes under press weights for several hours, sometimes overnight. Rushing this step is the #1 cause of de-lamination on cheap "Italian-style" belts.
How Long Does the Tuscan Belt-Making Process Actually Take?
A full Tuscan workflow takes between 2 and 4 hours of active human labor per belt, spread across 2 to 4 days of total elapsed time. The gaps come from drying, pressing, and edge-coat curing. You can't speed those up without sacrificing finish quality.

That's why a small Tuscan workshop produces maybe 15–30 belts per artisan per day — not 300. Volume is the enemy of finish.
Step 8 — Stitching
Saddle stitching or machine stitching depending on the design. The Italian standard is 7–8 stitches per inch (SPI) with waxed linen thread — Wikipedia's saddle stitch entry explains why this hand technique outlasts machine lockstitching. We have a separate post on why belt stitching matters if you want the deep dive.
Step 9 — Hole Punching
Holes are punched by hand with a round drive punch, one at a time, hammered through onto a poly block. Spacing is usually 1" apart, with 5–7 holes depending on the belt model.
Step 10 — Edge Sanding
The stitched, punched belt now goes back to the edge. The artisan sands the edge smooth with progressively finer grit — usually 220 → 400 → 600. By the end, the edge feels almost glassy.
What Makes the Edge Work the Most Important Step?
Edge work is the most important step because it's the first thing a buyer's eye lands on and the first thing to fail when a belt is cheap. Italian workshops spend more time on edges than on any other single phase — sometimes 30–40 minutes per belt across multiple sanding, painting, and polishing passes.

If you want to see the trade-offs in detail, our edge painting vs edge burnishing post breaks it down.
Step 11 — Edge Painting or Burnishing
This is where the workshop's signature shows up. Dress belts usually get edge paint (acrylic-based, applied in 3–6 thin coats). Casual and vintage belts get burnishing — water, wax, and friction. The edge painting belts explainer covers the chemistry side.
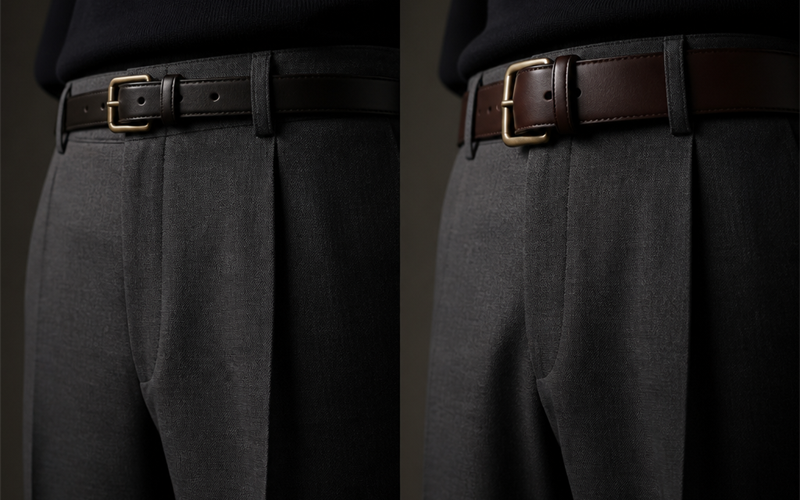
Step 12 — Hardware Fitting
The buckle is fitted next. Italian workshops favor solid brass or stainless — not zinc alloy. We explain the brass-buckle bias in our solid brass buckle culture post. The keeper loop is set in place and stitched if needed.
Step 13 — Wax Polishing
The whole belt gets a hand-rubbed coat of beeswax or carnauba wax. The artisan works it into the grain with a soft cloth, then buffs it back with a horsehair brush. This step is what gives a fresh Italian belt that warm, low-shine glow you can't fake with spray finish.
Step 14 — Final Inspection & Stamping
The artisan flips the belt, checks every stitch, every hole, every edge. Defects get sent back. Passes get a stamp — a workshop mark, a size, sometimes a date or batch code. Then it's wrapped.
You can see the finished version of this workflow on pieces like our Italian Brutti pull-up brown belt.
Why Don't Factory Belts Use the Same Workflow?
Factory belts skip or combine roughly 8 of the 14 steps because each one costs labor minutes, and labor is the biggest line item in a belt's price. The most common shortcuts: machine-only skiving, glued (not stitched) construction, sprayed edges instead of painted, and zinc-alloy buckles.

The result still looks like a belt at arm's length. Up close, and over time, the differences scream. Britannica's leather entry walks through how tannage, finishing, and hardware quality together determine how long a leather good actually lasts.
The Bottom Line
Fourteen steps. Two to four hours of human work. Two to four days of total elapsed time. That's the actual math behind a Tuscan-made belt — and it's why we partner with Italian workshops at BELTLEY rather than mass-producing in volume facilities.
If you want to feel what a full 14-step workflow produces, start with our handmade belts collection or browse Italian-style full-grain belts.
Frequently Asked Questions
Q: Is a 14-step process standard across all Italian workshops?
It's the norm in Tuscany and parts of Marche, where vegetable-tanned belt-making tradition is strongest. Other regions vary, but the core sequence — cut, skive, stitch, edge, finish — is universal across genuine artisan production.
Q: How can I verify a belt was actually made in Italy?
Look for a workshop stamp, a "Made in Italy" mark embossed (not printed) into the leather, and ideally a tannery certification from the Italian vegetable-tanned consortium. Receipts and supplier traceability help too.
Q: Why is hand-stitching used on some Italian belts but not others?
Hand-saddle-stitching is reserved for higher-end pieces because it adds 30–45 minutes of labor per belt. Machine stitching is acceptable on quality belts when done at 7–8 SPI with waxed linen thread.
Q: Does the 14-step workflow apply to exotic leather belts too?
Yes, with adjustments. Crocodile and alligator belts add steps for scale alignment and backing reinforcement. See our exotic leather belts collection for examples.
Q: How many belts can one Tuscan artisan make in a day?
Realistically, 15–30 belts per artisan per day depending on complexity. Hand-stitched belts drop that number to 6–10. Compare that to factory output of 200–400 per worker per shift.
