How Are Leather Belts Made? The Step-by-Step Process Explained Simply
TL;DR:
- Making a leather belt involves 7 main steps: hide selection, cutting, thinning (skiving), hole-punching, edge work, buckle attachment, and finishing
- A cheap factory belt takes minutes. A quality handcrafted belt takes hours — sometimes days for exotic leather
- The steps you can't see (skiving, edge burnishing, multi-coat finishing) are exactly where quality belts separate from cheap ones
Most people have worn a belt every day for years without ever thinking about what went into making it. Fair enough — a belt's whole job is to quietly hold your trousers up and stay out of the way. But once you understand what separates a belt that lasts two years from one that lasts twenty, you start noticing things.
Let's walk through the process. Think of it like visiting a friend's leather workshop — no technical jargon, just what's actually happening and why it matters.
Where Does It Start? Choosing the Hide
Before any cutting happens, someone has to pick the leather — and this decision determines everything downstream.
Think of a cowhide like a piece of fabric with zones. The back of the animal (called the "butt" in leather terminology, which nobody warned you about) is the most dense and even. The belly sides are looser and stretchier. A quality belt uses leather from the tight, dense sections. A cheap belt uses whatever fits.
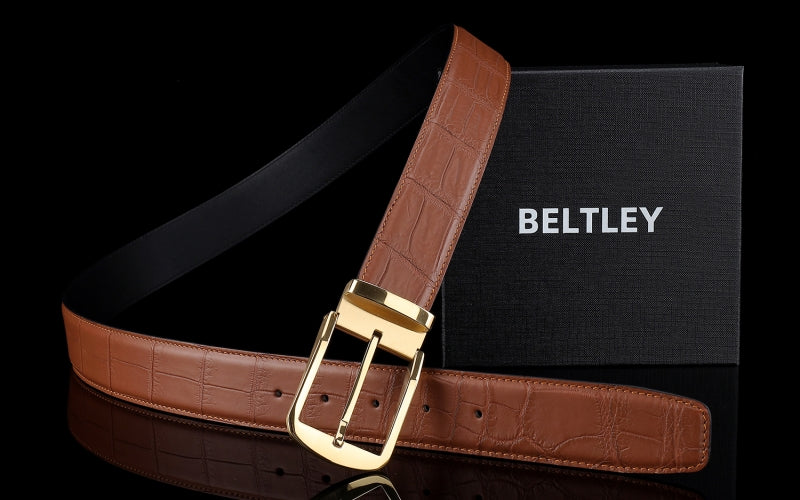
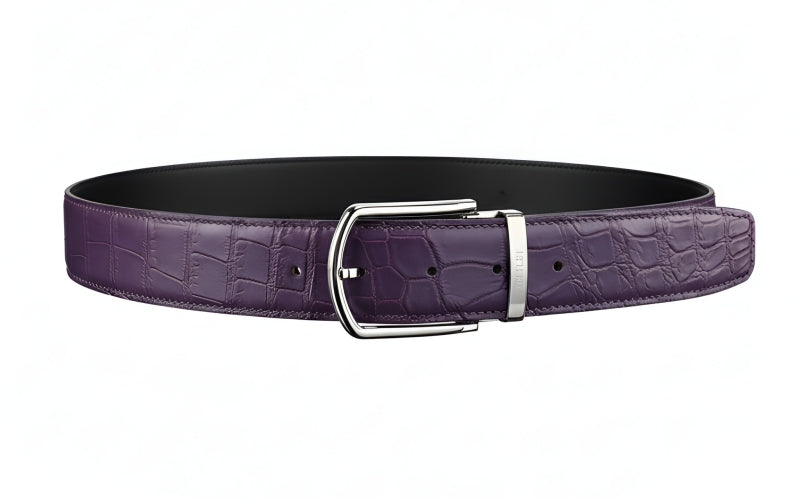
At BELTLEY, every hide is hand-selected before it touches a cutting tool. If a section doesn't meet density and grain consistency standards, it doesn't become a belt. Full-grain leather belts — this is what "full-grain" means in practice: we're cutting from the best part of the best hides.
According to the Leather Industries of America, hide selection is the single variable that most determines finished leather product quality — more than tanning method or construction technique.
How Is Leather Cut Into Belt Straps?
A leather belt starts as a long, even strip cut from the hide — typically 120–130cm long and the intended width of the finished belt (32mm, 35mm, 38mm, etc.).
This is done with either a round knife (for handcrafted belts) or a steel-rule die press (for production belts). The key is cutting with the grain of the leather, not across it. A strap cut across the grain will stretch unevenly and lose its shape over time. A strap cut with the grain stays straight and holds its width for years.
You can test this yourself: pull the ends of a cheap belt sideways and watch it distort. A properly cut full-grain strap barely moves.
What Is Skiving and Why Does It Matter?
Skiving is shaving the leather thinner at specific points — most importantly where the belt folds back over the buckle bar. Think of it like peeling a carrot: you're reducing thickness at the edge so the fold is clean and doesn't create a bulky lump.
Without proper skiving, the folded section at the buckle end becomes stiff and thick, the stitching puckers, and the whole assembly looks — and feels — amateurish. With correct skiving to a 0.1mm tolerance, the fold is smooth, the stitching lies flat, and the transition is invisible. More on skiving and belt quality — Popov Leather's breakdown is useful if you want the technical detail.
This is one of those steps where the difference between a skilled artisan and a factory machine is immediately visible to anyone who knows to look for it.
How Are Belt Holes Made?
Hole punching sounds simple. It mostly is — but the detail matters.
A quality belt uses a sharp hollow punch pressed cleanly through the leather, producing a smooth-sided hole with sealed edges. A cheap belt uses a dull punch or a drill, which tears the fiber rather than cutting it. Torn fibers fray over time; cut fibers hold their edge for years.
Most belts have 5 holes spaced 1 inch (25mm) apart, with the center hole being the designed "correct fit" hole. Sizing your belt correctly — the center hole should be where you fasten it on day one.
The Edge Work: Where Most Cheap Belts Cut Corners
After cutting, the raw edges of the leather strap are rough — they look and feel like a freshly cut piece of cardboard. Finishing those edges is what separates a polished belt from a rough one, and it's where most budget production skips steps.
A properly finished leather belt edge goes through this sequence:
- Bevel — The sharp 90° edge is rounded with a beveling tool, removing the corner
- Sand — The edge is sanded progressively finer (60 grit → 120 grit → 220 grit)
- Burnish — The edge is rubbed with a wooden slicker and a small amount of water or gum tragacanth (a natural plant resin), compressing the fibers into a smooth, sealed surface
- Paint — Multiple coats of edge paint are applied, dried, and sanded between coats
That final burnished edge is why a quality belt feels finished and premium at the edge. A cheap belt has a raw, rough edge that frays at the corners within months. What is edge paint on a leather belt? — full explanation coming in a companion post.
How Is the Buckle Attached?
The buckle end of the belt is folded back over the buckle bar and secured. This is done one of two ways:
Riveted: A copper or brass rivet is hammered through both layers of leather. Fast, strong, reliable for everyday use.
Stitched: The folded section is saddle-stitched — a two-needle technique where each stitch locks independently, so if one thread breaks, the entire seam doesn't unravel. Saddle stitching is slower but stronger and more premium.
BELTLEY uses saddle stitching on our handcrafted belts — according to traditional leathercraft guides, saddle stitching creates a seam that can outlast the leather itself when done correctly with waxed thread.
The buckle itself is seated on the bar, tested for smooth movement, and checked for alignment. The 316L stainless steel buckles BELTLEY uses don't tarnish, don't bend under normal use, and maintain their finish for the belt's full lifetime.
The Final Finish: What Gets Applied to the Surface?
The last step is conditioning and finishing the leather surface — protecting it and bringing out its natural character.
For full-grain leather, this typically involves a light coat of leather conditioner (neatsfoot oil, lanolin, or beeswax-based) followed by a finishing cream that adds a subtle sheen without obscuring the grain. Nothing heavy. The goal is to feed the leather, not coat it.
For exotic leathers (crocodile, alligator), the finishing process is more careful — each scale is sealed individually, and the overall surface is treated to maintain the leather's natural texture and moisture resistance. This is skilled, slow work. It's part of why an exotic leather belt costs significantly more than a cowhide one.
Leather care to maintain this finish at home — if you've ever wondered what "conditioning your belt" actually does, this explains it.
How Long Does This All Take?
That depends entirely on who's making it and how:
- Mass production factory belt: 8–15 minutes per belt
- Quality handcrafted full-grain belt: 2–4 hours
- Exotic leather handcrafted belt: 4–8 hours, sometimes more for complex finishing
BELTLEY produces in small batches — every belt is individually handled, inspected, and finished by artisans who've been working with leather for years. That time investment is why the 10-year warranty isn't a gamble.
The Bottom Line
A leather belt is deceptively simple from the outside. The complexity is in the steps you can't see: how the hide was selected, how cleanly the strap was cut, whether the edges were properly burnished or just painted over, whether the stitching was saddle-done or machine-slapped. Those hidden steps are the difference between a belt you replace every two years and one you're still wearing at fifty.
Browse full-grain leather belts and handmade belts — every step described above is what goes into each one.
Frequently Asked Questions
Q: How many steps does it take to make a leather belt?
A quality leather belt involves at least 7 major steps: hide selection and cutting, skiving (thinning at fold points), hole punching, edge beveling and burnishing, buckle attachment (riveted or saddle-stitched), surface conditioning, and final quality inspection. Each step has sub-steps — a handcrafted belt involves 20+ individual actions from raw leather to finished product.
Q: What is the difference between a handmade and factory-made belt?
Factory belts are cut, assembled, and finished by machines in 8–15 minutes with minimal human touch. Handmade belts are individually cut, skived, saddle-stitched, burnished, and inspected by an artisan — a process that takes 2–8 hours depending on leather type. The visible difference is in edge quality, stitching precision, and how the belt ages.
Q: Why do belt edges crack or fray over time?
Cheap belts skip proper edge finishing — the raw leather edges are painted over without burnishing, so the fiber structure is exposed. Over time, flexing and wear breaks the paint and the uncompressed fibers fray. Properly burnished and sealed edges compress the fibers before painting, creating a lasting seal that holds through years of daily use.
Q: How are belt buckles attached?
Belt buckles are attached by folding the strap back over the buckle bar and securing it with either rivets (fast, reliable) or saddle stitching (slower, stronger, more premium). BELTLEY uses saddle stitching — a two-needle technique where each stitch locks independently, creating a seam stronger than the leather around it.

,%20hole-punching,%20edge%20work,%20buckle%20attachment,%20and%20finishing%0AA%20cheap%20factory%20belt%20takes%20minutes.%20A%20qu...)